

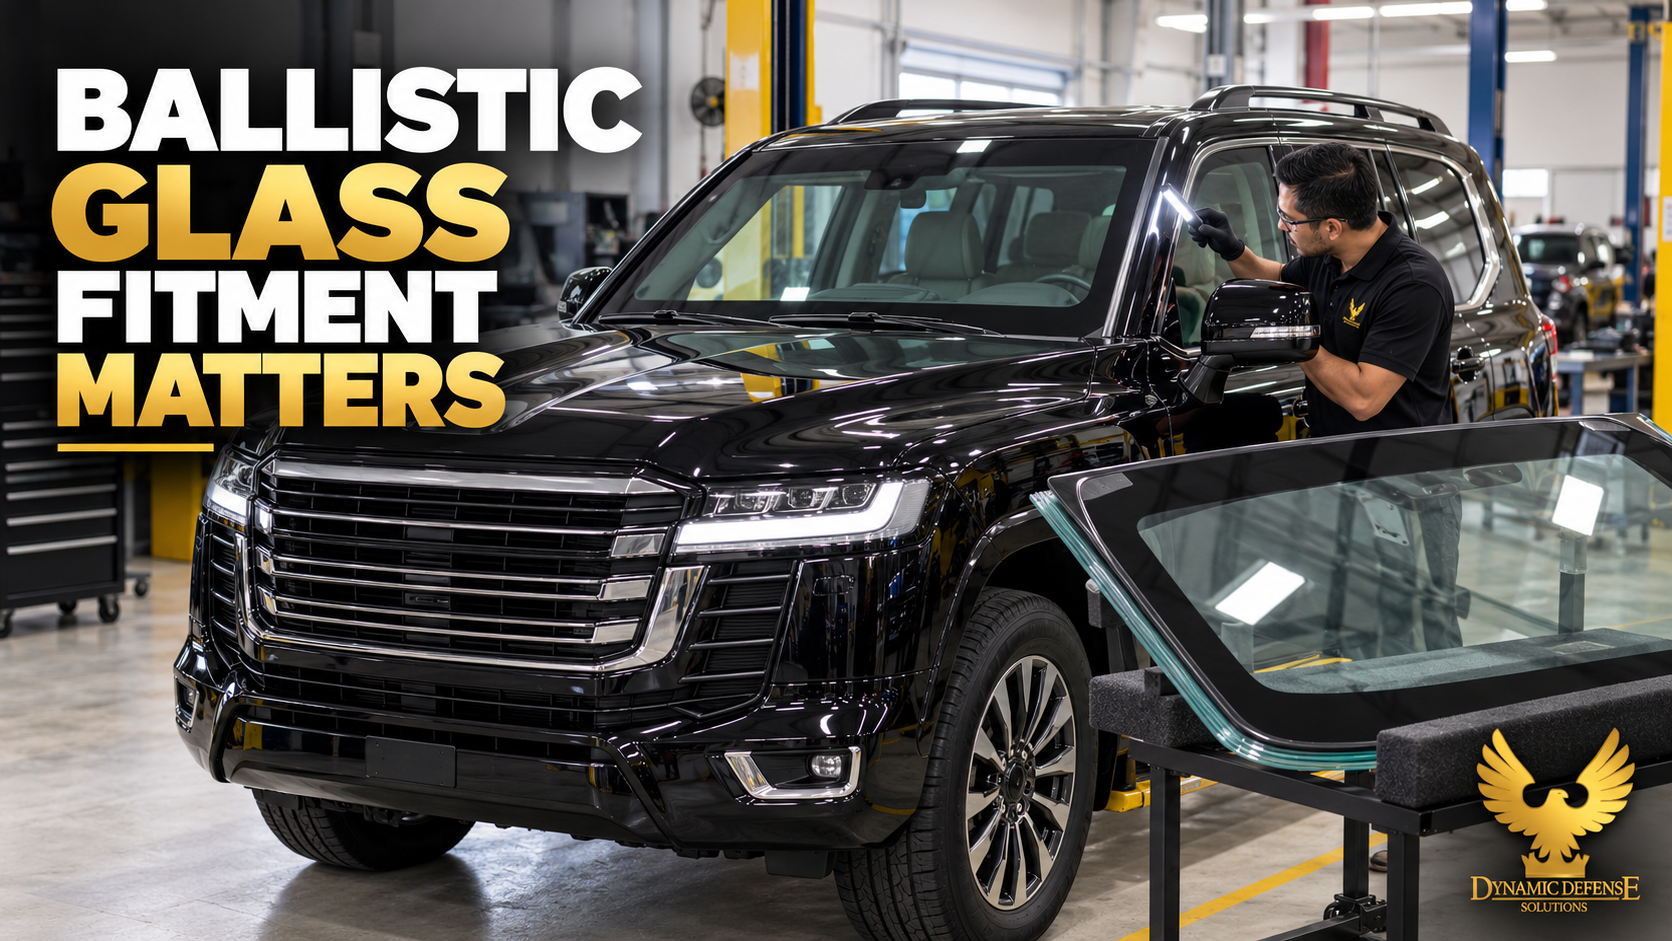
Ballistic Glass Installation for Armored Vehicles: Why Clearance, Support and Bonding Matter
A correctly manufactured ballistic windshield or door glass can still create serious fitment problems if the vehicle aperture, supporting structure or bonding process has not been prepared for it. Ballistic glass installation for armored vehicles is therefore not simply a matter of removing the original glass and bonding a thicker replacement into the same opening.
Ballistic glazing is substantially thicker and heavier than standard automotive glass. Depending on its position and design, it can change door loading, glass-regulator requirements, frame clearances and the way forces are transferred into the vehicle body.
The installer must consider the glass specification, aperture geometry, supporting frame, edge step, ceramic band, adhesive system, electrical functions and completed-vehicle testing together. The protection performance of an individual glass panel does not, by itself, confirm the ballistic performance of the complete vehicle.
Why Correct Glass Can Still Produce an Incorrect Installation
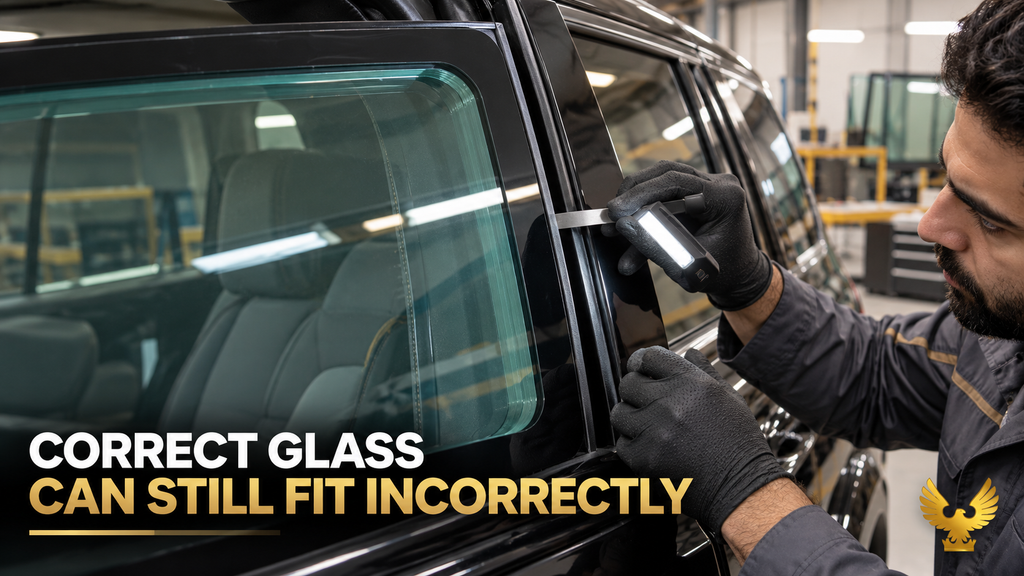
The manufacturing specification may be correct while the installation environment is not.
A vehicle body can vary because of previous repairs, welding distortion, accident damage, corrosion, paint build-up or modifications made during the armoring process. Even small differences around the aperture may prevent the glass from sitting evenly.
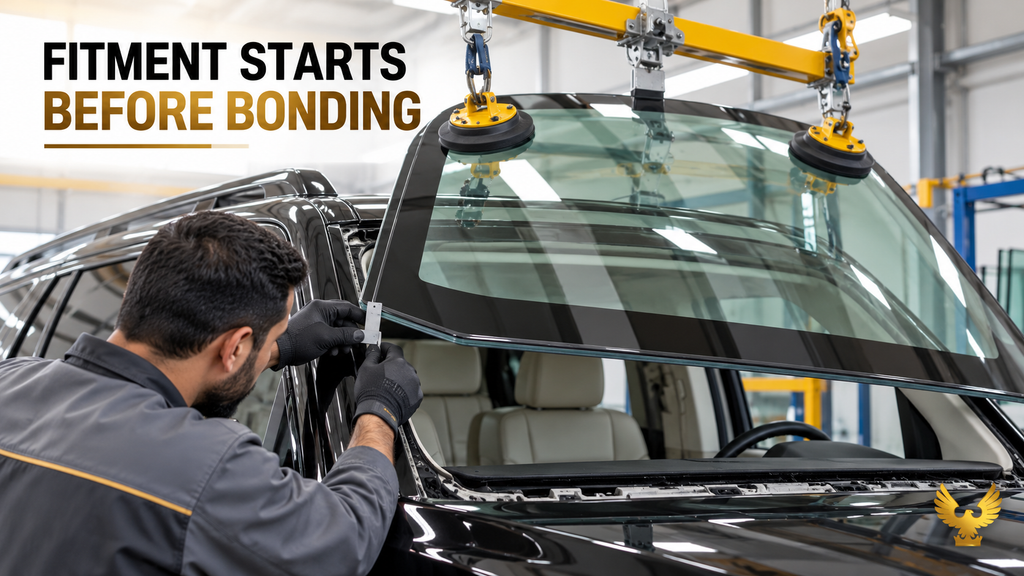
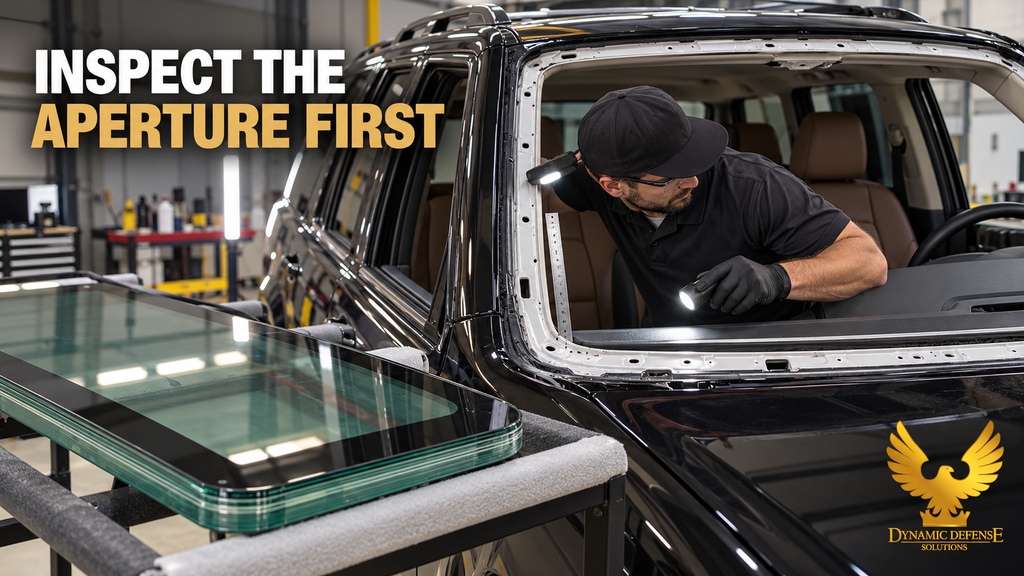
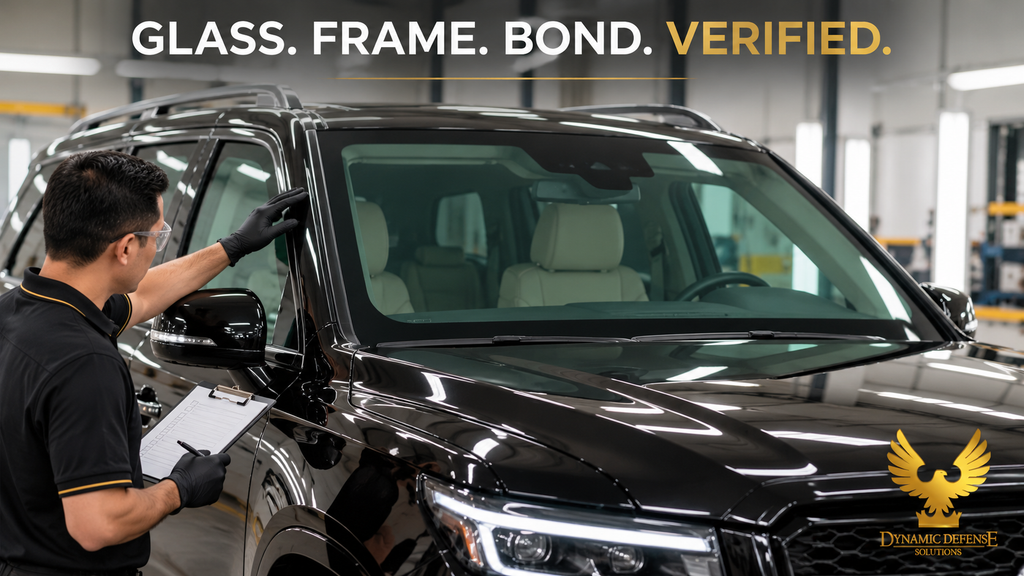
For this reason, ballistic glass installation for armored vehicles should begin with a dry-fit inspection. The installer needs to confirm the glass shape, curvature, perimeter gap, edge step, orientation and final seating position before applying adhesive.
Forcing a heavy ballistic panel into an opening that is too tight can create concentrated edge loads. The glass may appear correctly installed on delivery but later develop stress-related damage, seal failure or delamination around a loaded edge.
A gap that is too large can create a different problem. The adhesive bead may be unable to maintain the intended geometry, the panel may sit too deeply, or the finished trims may no longer cover the installation area correctly.
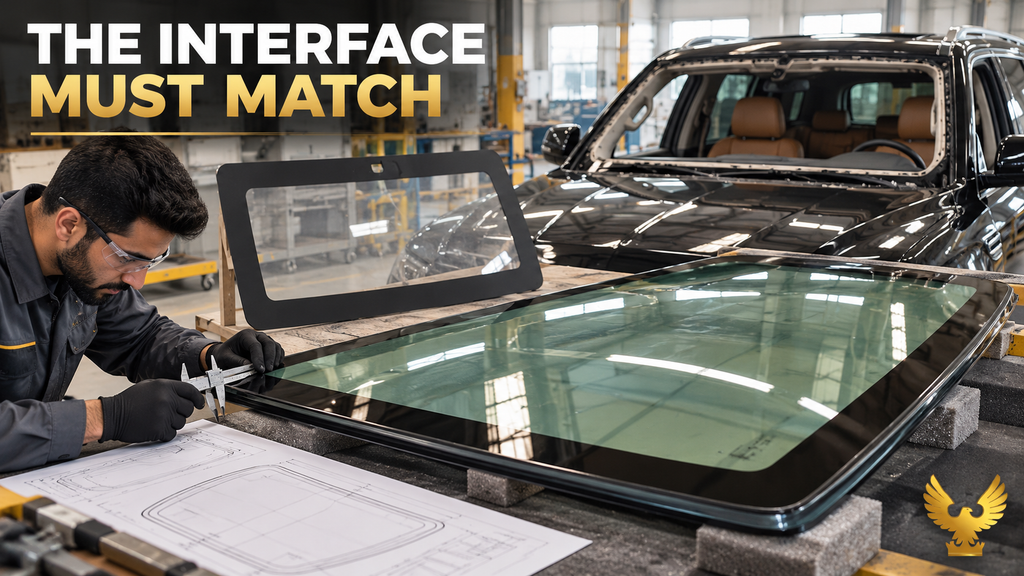
Correct fitment is therefore determined by the complete interface between the supplied glass and the prepared vehicle—not by the glass dimensions alone.
Ballistic Glass Installation for Armored Vehicles Starts with the Aperture
Before bonding begins, the workshop should inspect the full mounting aperture.
The surface should be structurally sound, correctly shaped and free from conditions that could affect glass retention. Paint failure, corrosion, damaged flanges, irregular welds, remaining sealant and incorrectly positioned armor overlaps must be corrected before installation.
Sika’s current vehicle-glass replacement guidance similarly recommends inspecting for corrosion, body damage, paint-system failure, missing parts and previous improper workmanship before installing replacement glass.
For an armored vehicle, additional checks may include:
- Whether reinforcement has distorted the original opening
- Whether ballistic steel overlaps interfere with the glass step
- Whether the aperture provides continuous support
- Whether trims and mouldings can still be fitted
- Whether drainage paths remain open
- Whether brackets, camera zones and electrical connectors are accessible
- Whether the completed bond line will be protected from direct UV exposure
The installer should not use the adhesive bead to compensate for a badly prepared or uneven aperture. Structural corrections should be completed before the glass is bonded.
Edge Clearance, Setting Position and Continuous Support
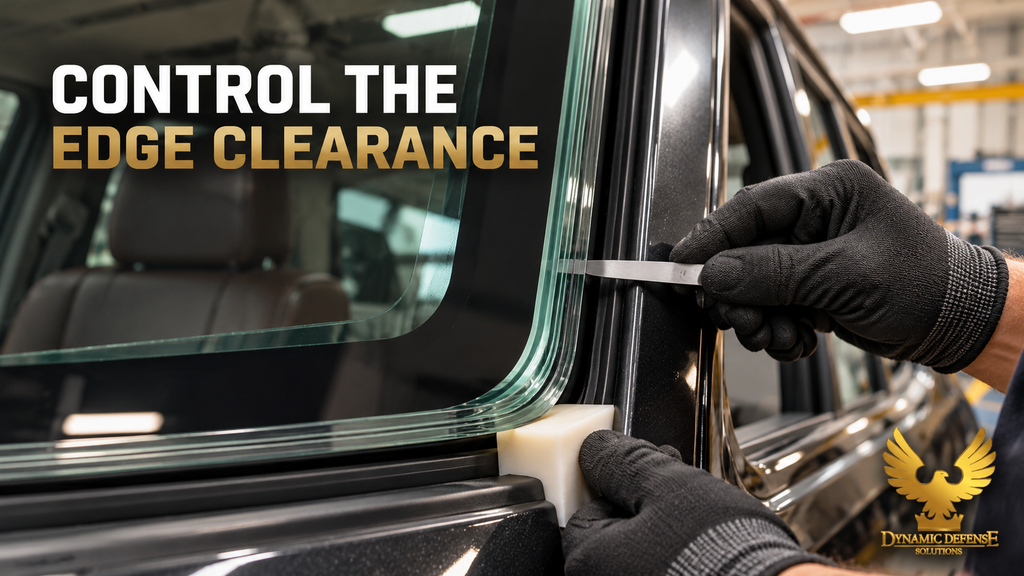
Glass edges are particularly sensitive to concentrated mechanical loading. The glass should not be allowed to make uncontrolled hard contact with exposed steel, welds, fasteners or an uneven frame.
The required clearance is project-specific. It depends on the glass construction, thickness, shape, aperture, mounting method and the glass manufacturer’s installation requirements. A universal clearance number should not be applied to every vehicle.
During ballistic glass installation for armored vehicles, temporary positioning blocks, approved setting materials or a designed support system may be required to maintain the intended gap and control the final glass position.
These supports should not create isolated pressure points. They should keep the panel stable while allowing the bonding system to maintain its designed thickness.
The glass must also be correctly positioned in depth. If it sits too far outward, external trims may not fit and wind noise or water leakage may result. If it sits too far inward, it may interfere with dashboard components, door trims, window mechanisms or armor overlaps.
The objective is an even, supported installation in which the glass is not forced against the aperture and the bond line remains consistent around the perimeter.
The Bonding System Must Be Treated as a Complete Process
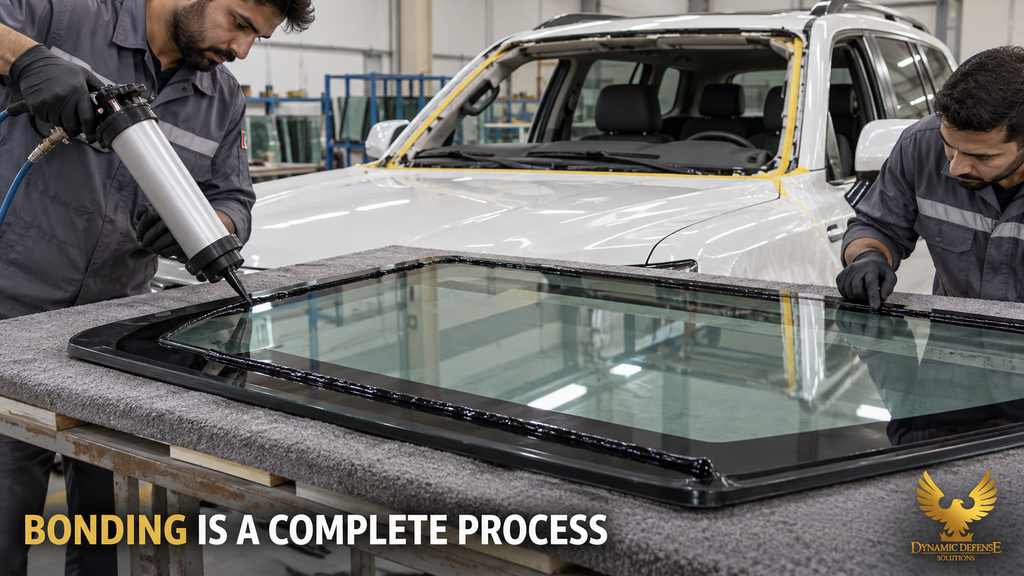
The adhesive is only one part of the bonding system. Surface cleaning, pretreatment, primer compatibility, bead geometry, application temperature, open time and curing conditions all influence the final result.
A workshop should follow the current technical data and application instructions issued for the specific adhesive system being used. Cleaners, activators, primers and polyurethane from unrelated systems should not be mixed without confirmed compatibility.
The bonding surfaces must be clean, dry and free from grease, dust and contaminants. Existing adhesive also needs to be identified correctly. Sika notes that polyurethane direct-glazing adhesives may not adhere correctly to residual butyl or silicone, which may need to be removed completely.
A continuous and correctly formed adhesive bead helps control bond-line thickness and reduce gaps. Sika and DuPont installation guidance describe using a uniform triangular or V-shaped bead and ensuring continuous contact without voids.
For ballistic glass installation for armored vehicles, the installer should verify:
- Approved cleaner and pretreatment for each substrate
- Adhesive compatibility with glass, ceramic band and vehicle frame
- Required bead height and width
- Application temperature and humidity limits
- Adhesive open time
- Glass positioning method
- Curing time before moving or testing the vehicle
- Protection of the bond line from UV radiation
The ceramic band is not only cosmetic. It can hide the adhesive area and help protect the bond from ultraviolet exposure. Where a suitable ceramic band is not present, an approved UV-protection solution may be required. The installer should follow the glass and adhesive manufacturers’ instructions rather than improvising with paint or generic sealant.
Heavy Ballistic Door Glass Requires Additional Engineering
A fixed windshield and a movable door glass present different installation challenges.
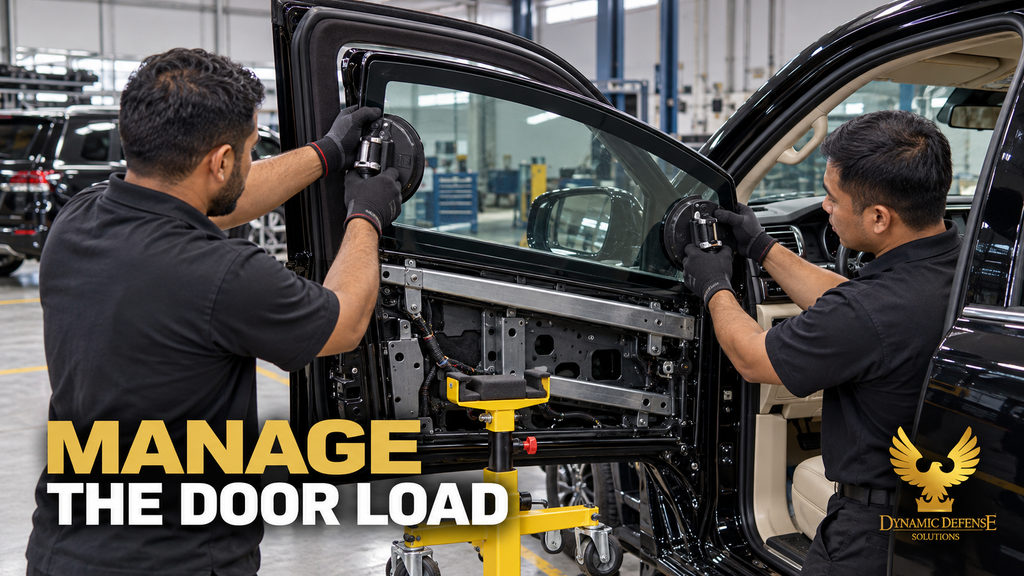
Movable ballistic door glass places substantially more load on the regulator, guide channels, supporting brackets and door structure. The mechanism must raise, lower and hold the heavier panel without twisting it or applying excessive pressure to its edges.
Even fixed ballistic door glass affects the door assembly. Its mass is carried by the door structure and ultimately transferred through the hinges, hinge mounting areas and latch.
During ballistic glass installation for armored vehicles, the workshop should check:
- Whether the glass is intended to be fixed or movable
- Regulator or window-lifter capacity
- Guide-channel alignment
- Glass carrier and bracket design
- Clearance from ballistic steel and internal hardware
- Door hinge capacity and hinge-mounting reinforcement
- Latch and striker alignment
- Door sag in both open and closed positions
- Wiring, heating terminals and switch operation
Installing a powerful window lifter does not correct a misaligned guide system. Similarly, stronger hinges cannot compensate for a weak door structure or incorrectly positioned glass.
All parts of the door system must be evaluated under the final operating load.
Camera Zones, Heating and Other Functions Must Be Confirmed
Modern vehicle glass may include functions that are not obvious from the outer shape.
A windshield may require a camera viewing zone, rain or light sensor area, mirror bracket, heating terminals, antenna elements, VIN opening or a specific ceramic-band layout. Door glass may require a particular step, lower-edge profile, carrier connection or opening range.
Before ballistic glass installation for armored vehicles, the workshop should compare these features against the original vehicle and the approved project drawing.
Camera and sensor systems may also require inspection or calibration after the glass has been installed. The correct process depends on the vehicle and system involved. A visually clear camera area does not automatically confirm correct system operation.
Electrical connections should be accessible, protected against strain and tested before trims are permanently refitted. The installer should avoid pulling on heating terminals or using them to support the weight of the glass.
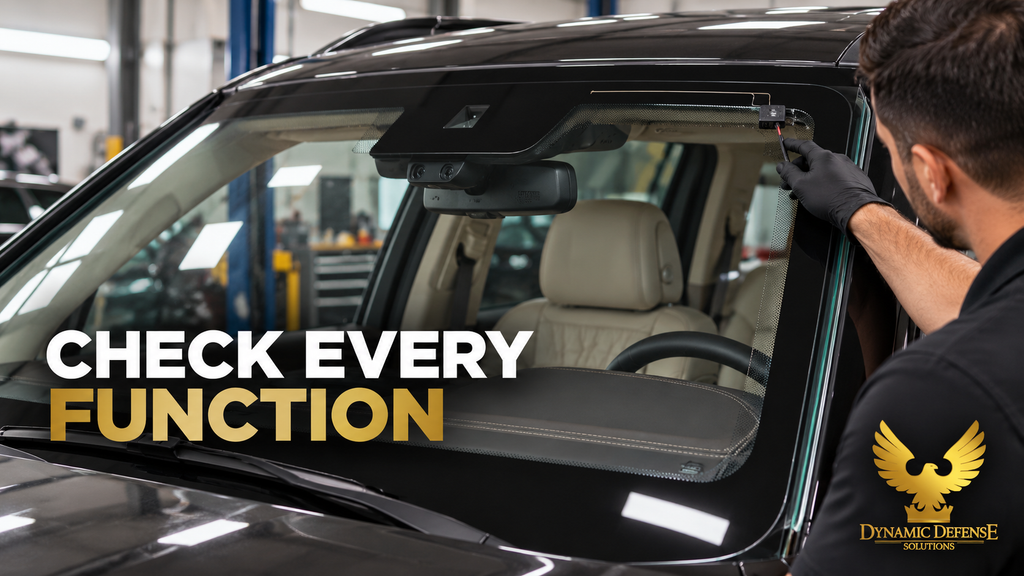
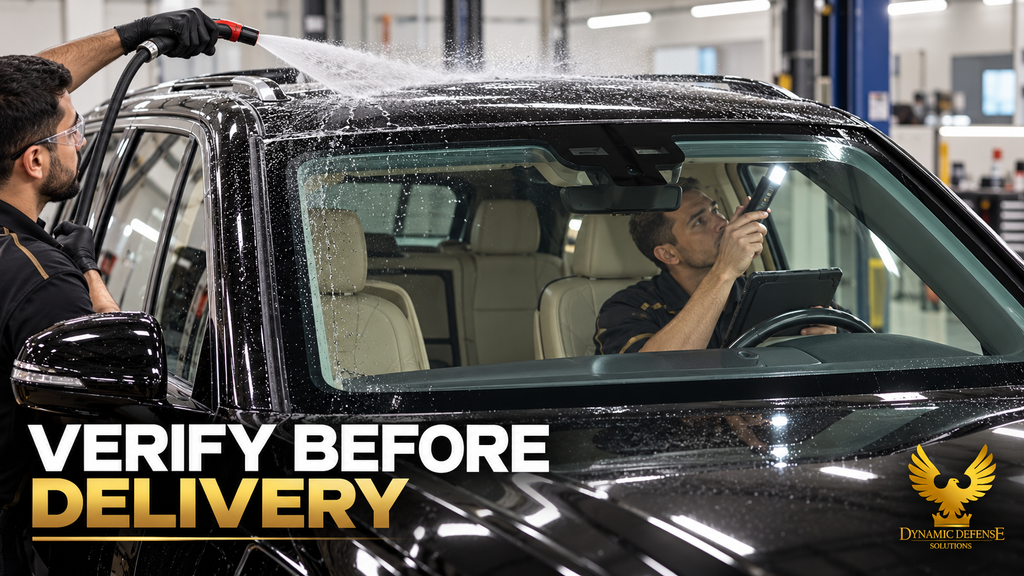
Installation Verification Should Go Beyond a Water Test
A water-leak test is useful, but it does not verify every aspect of the installation.
Completed ballistic glass installation for armored vehicles should be inspected for uniform seating, edge clearance, adhesive continuity, trim fitment and interference with surrounding components.
For fixed glazing, the workshop should check:
- Glass alignment and exterior surface position
- Consistent perimeter gap
- Adhesive coverage and visible voids
- Water and air leakage
- Trim and moulding retention
- Camera, sensor and heating operation
- Wiper clearance and sweep
- Dashboard and headliner clearance
- Unusual noise during road testing
For door glazing, the checks should also include door opening effort, hinge movement, latch engagement, window operation, guide alignment and signs of glass movement inside the frame.
The vehicle should not be released before the adhesive has reached the required handling or safe operating condition stated by its manufacturer. Temperature and humidity can affect curing, so workshop timing should not be based only on previous experience.
Information to Provide When Ordering Ballistic Glass
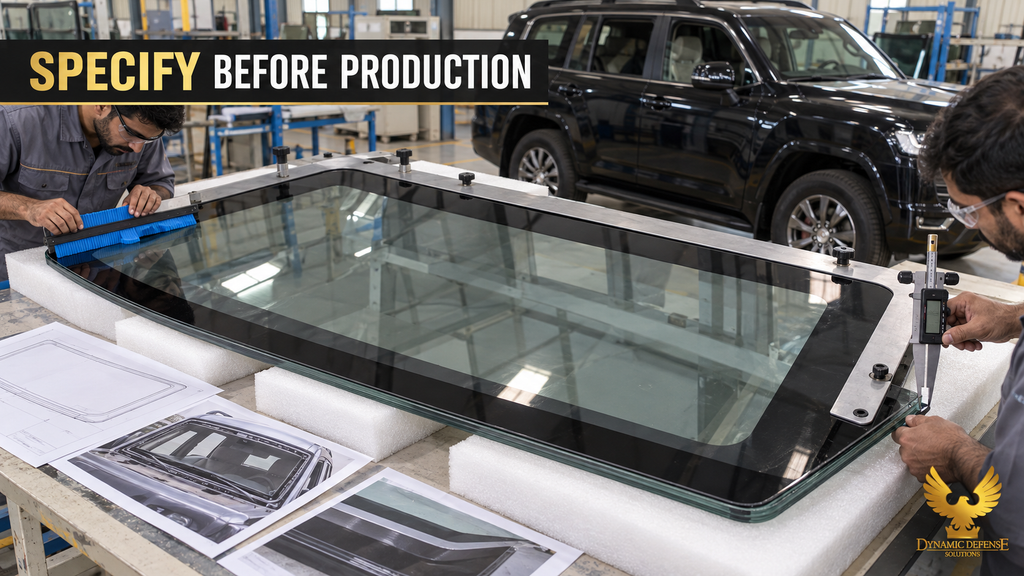
Accurate project information reduces production and installation problems.
When requesting ballistic glass installation for armored vehicles support or ordering replacement glazing, manufacturers and converters should provide:
- Exact vehicle make, model, year and body variant
- VIN where relevant
- Required glass positions
- Protection requirement and applicable testing standard
- OEM glass numbers where available
- Physical templates or verified CAD data
- Overall dimensions, curvature and thickness
- Edge-step dimensions and orientation
- Ceramic-band requirements
- Camera and sensor zones
- Mirror bracket position
- Heating or antenna connections
- Whether door glass is fixed or movable
- Aperture and installation photographs
- Details of any previous fitment problem
An OEM number can help identify the original glass, but it does not define every requirement of a ballistic replacement. Thickness, curvature, edge step, functions and installation interface must still be confirmed.
DDS Support for Ballistic Glass Projects
Dynamic Defense Solutions supplies specialized armored-vehicle components for international projects. DDS works as a supply and project-support partner for manufacturers, armoring companies, integrators and workshops rather than positioning itself primarily as a vehicle-armoring bodyshop.
For ballistic glass installation for armored vehicles, DDS can support projects by reviewing the available vehicle information, required glass positions, templates, edge details, functional requirements and installation constraints before production.
Depending on the project, DDS can also support associated requirements such as ballistic steel, heavy-duty hinges, window-lifter solutions, suspension, braking systems, run-flat systems and other protected-vehicle components.
Component-level material or glass certification should not be presented as certification of the complete protected vehicle. Final integration, installation quality and completed-vehicle validation remain the responsibility of the vehicle builder and relevant testing or approval bodies.
Conclusion: Ballistic Glass Installation for Armored Vehicles
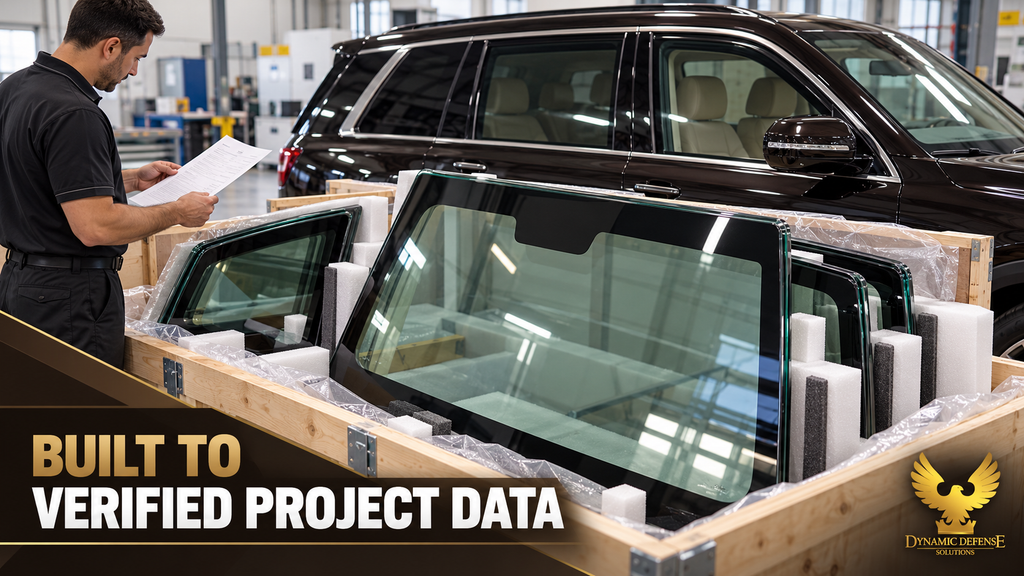
Correct ballistic glazing is only the starting point. Aperture preparation, edge clearance, continuous support, surface treatment, adhesive application, door loading, functional equipment and final inspection determine whether the supplied panel can be integrated correctly.
Professional ballistic glass installation for armored vehicles requires cooperation between the glass supplier, vehicle manufacturer, converter and installation workshop. Confirming the interface before production is far less costly than modifying a finished glass panel or vehicle aperture after delivery.
Manufacturers, armoring companies, security-vehicle businesses, workshops and integrators can contact Dynamic Defense Solutions to discuss vehicle-specific ballistic glass and related protected-vehicle component requirements.
Send Us Your Inquiries Today
SIMILAR PRODUCTS
SUCCESSFULL STORIES
LOGISTICS SERVICES
Supply Chain is core of our operational efficiency providing logistics services anywhere in the world for Armored cars and Armored cars parts. To date we have successfully shipped our products to many countries around the Globe. Our supply chain is supported by a dedicated team of highly capable and experienced logistic professionals. Offering freight by air, land or sea within efficient time frame
HAVE SUCCESSFULLY SHIPPED OUR ARMORED CARS PARTS TO MANY COUNTRIES AROUND THE GLOBE





RELATED BLOGS
Armored Vehicle Parts Ukraine: Complete Guide for TLC 76, 78, 79, Hilux & L200
Armored Vehicle Suspension Systems: Why They Matter More Than You Think
Prado 250 Armored Car Parts & Protection Kit